Idea
Since a long time, I wanted to have a decent 5.1 sound system for my living room to build up a proper home theater 🔊.
As I have some good friends who are very much into good sound and sonority, I was introduced to the Cheap Trick 242 by German audio magazine Klang&Ton (published in K+T 3/2009). These are based on Visaton’s FRS 8 chassis and work already excellent as a really nice and rich Stereo speaker setup (2.0) to listen to music 🎼🎶.
I have built them two times before for different scenarios of a small stereo setup 🅰️ 🅱️.
And I enjoy them every single time anew 😊.
So why not use these as a basis for a reasonable 6CH sound system, adding a complementary subwoofer for bass support 🅰️‘ 🅰️ 🆑 🅱️ 🅱️‘ 🆕 ?
Luckily, Visation Germany also had a very nice sub as a DIY set available, using their W 200 S chassis. This would fit well with the CT242’s and their FRS 8’s, adding deep LFE which the FRS’ lack 🧨.
Saying this, the idea was born 💡.
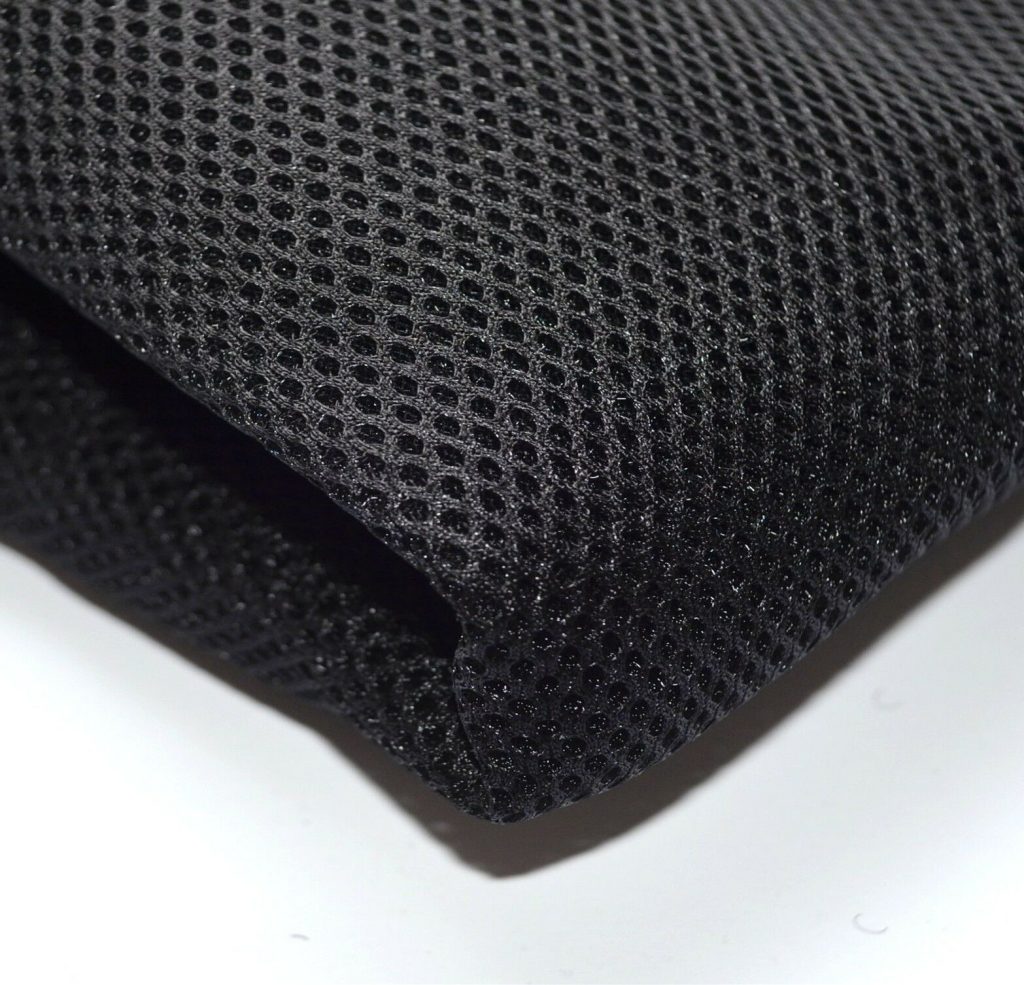
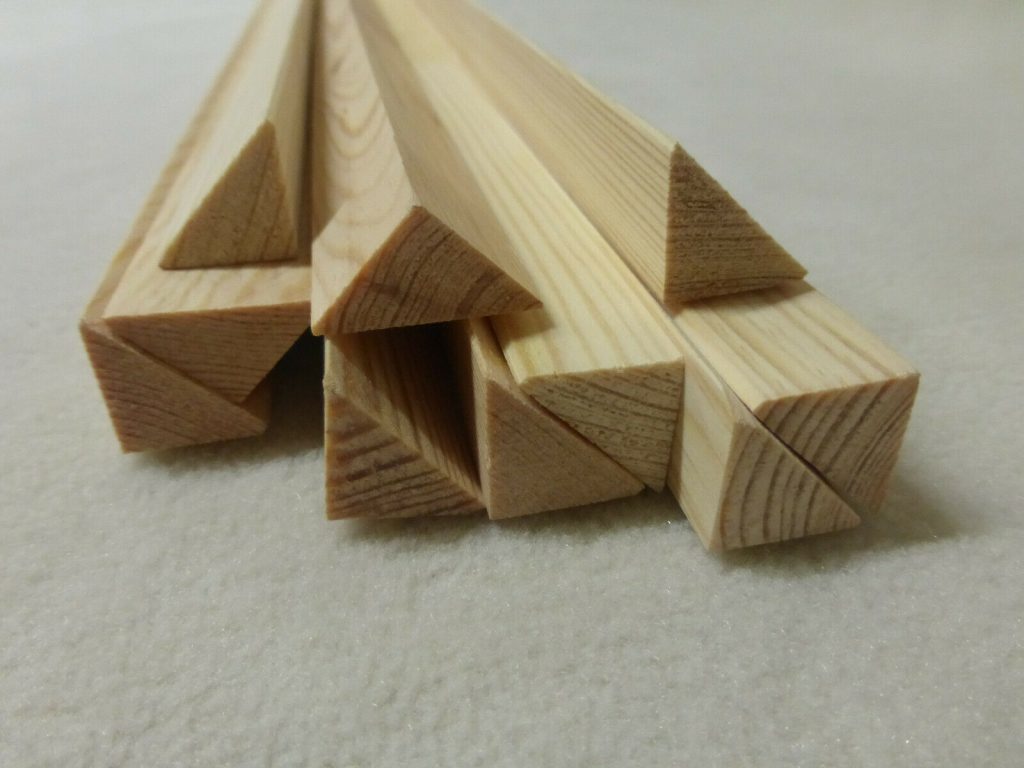
After the plan was shaped, the parts were needed. To have more living-room-friendly optics, I decided to add some cover panels, consisting of a wooden frame, plus acustic cloth not influencing the sound emitted by the chassises.
If you want to rebuild, this is what you need to get:
Ingredients
- 5x CT242 Visaton FRS 8 [4Ω] 🔗
- 1x SUB W-20.39 Visaton W 200 S [4Ω] 🔗
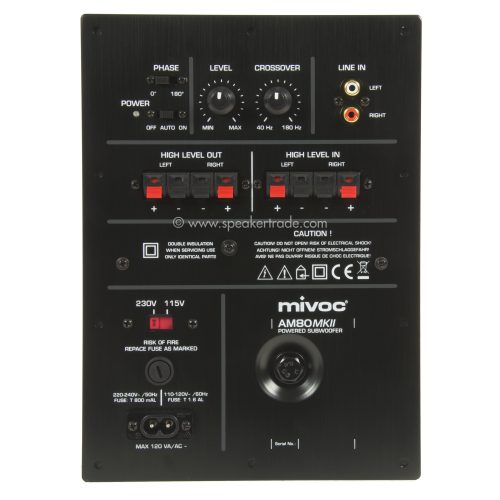
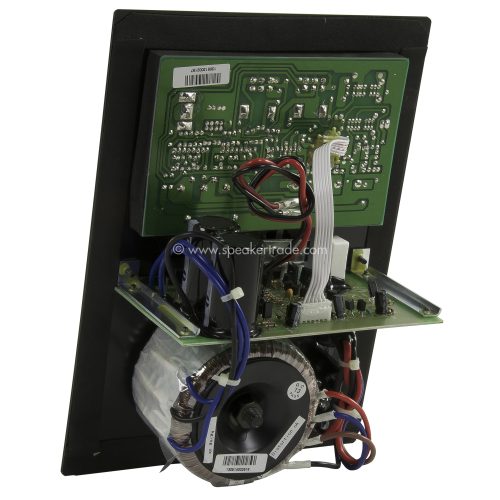
- mivoc AM 80 MK II [80W] 🔗
- Cable & Terminals for the satellites
- Acoustic insulation mat
- Some MDF wood in different strengths, plus wood glue, for the cases
- Acoustic cloth plus some small triangle and square shaped wooden strips for the cover panels
- Visaton labels for identification
- As usual, some patience 😉
Assembling process
Satellites
For the Satellites, there is a pretty good building instruction by Klang&Ton’s magazine which I have included as a PDF copy (German only).
Attached, you can see the sketches needed:
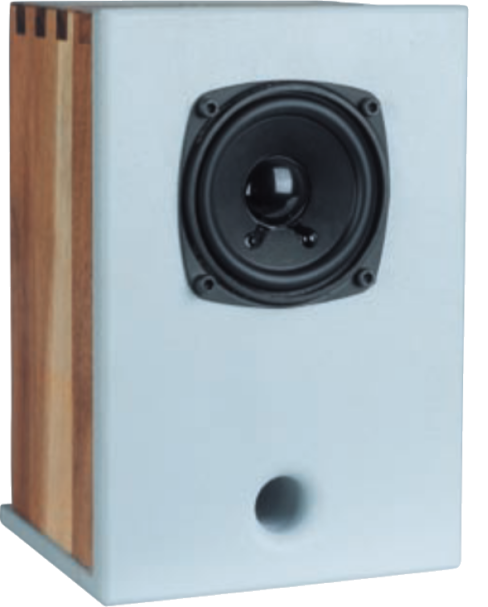

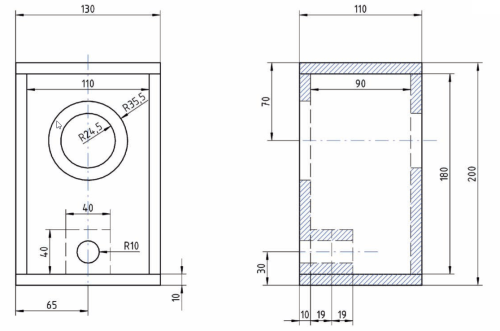
As you can see, the cable terminals in the original blueprint are directly behind the speaker chassis. I chose to move them down to the bottom, right behind the bass reflex tube. This can easily be achieved by rotating the back pane by 180°.
For the center, I chose to have a more centric design. Therefore, I moved the speaker chassis and terminal right to the middle of the box and decided to put in two bass reflex tubes instead of one, to have some better symmetry.
Tricky here was to calculate the diameter of the two new holes, by keeping the identical volume. Since the length of the cylinders did not change, the base needed to be halved accordingly. That means if the volume V of the cylinder is described by V = A * h, with A being the base and h being the height (or length), A is the one to adjust.
So the original footprint was A = πr² with a Radius r of 10 mm, which in this case is π*(10 mm)² ≈ 314,1592 [mm²].
Now, you need to divide this by two, clean it of π and get the square root again for the new radius. This means, if you do not consider π at all, √(100 mm/2) = √(50 mm) ≈ 7,071 [mm] for the Radius r (and not 5 mm, as one could have easily thought 😉).
Therefore, a drill-out with Diameter d = 2r ≈ 2*7,071 mm ≈ 14 [mm] was to be used to stick to the same dimensions as the original tube (and not 10).
Subwoofer
For the Subwoofer, Visaton offers the building instruction itself. They never sold it as a a complete kit, and meanwhile the sub is not part of the program anymore. I have “printed” the instructions from the visaton page, in case they disappear in the future.
Please see the following pictures:

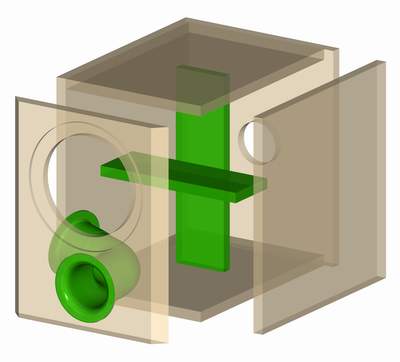

Visaton recommends to use a subwoofer amplifier with integrated crossover, for which I decided to use the mivoc AM 80 MK II. Hence, the back pane of the sub needs an appropriate cut-out to carry the mivoc’s panel

Cover panels
Last but not least, the cover panels.

No responses yet