
In 2018, I got the chance to buy the RaspiBoy kit from 8bcraft by Pierre Boyer. Me as being a big Raspberry Pi fan and supporter – plus being the tinkerer and gamer that I am – functioned as the perfect symbiosis to satisfy the “itch” of trying this awesome gadget out. So here is my experience with assembling the kit and the perfect results ?
Ingredients
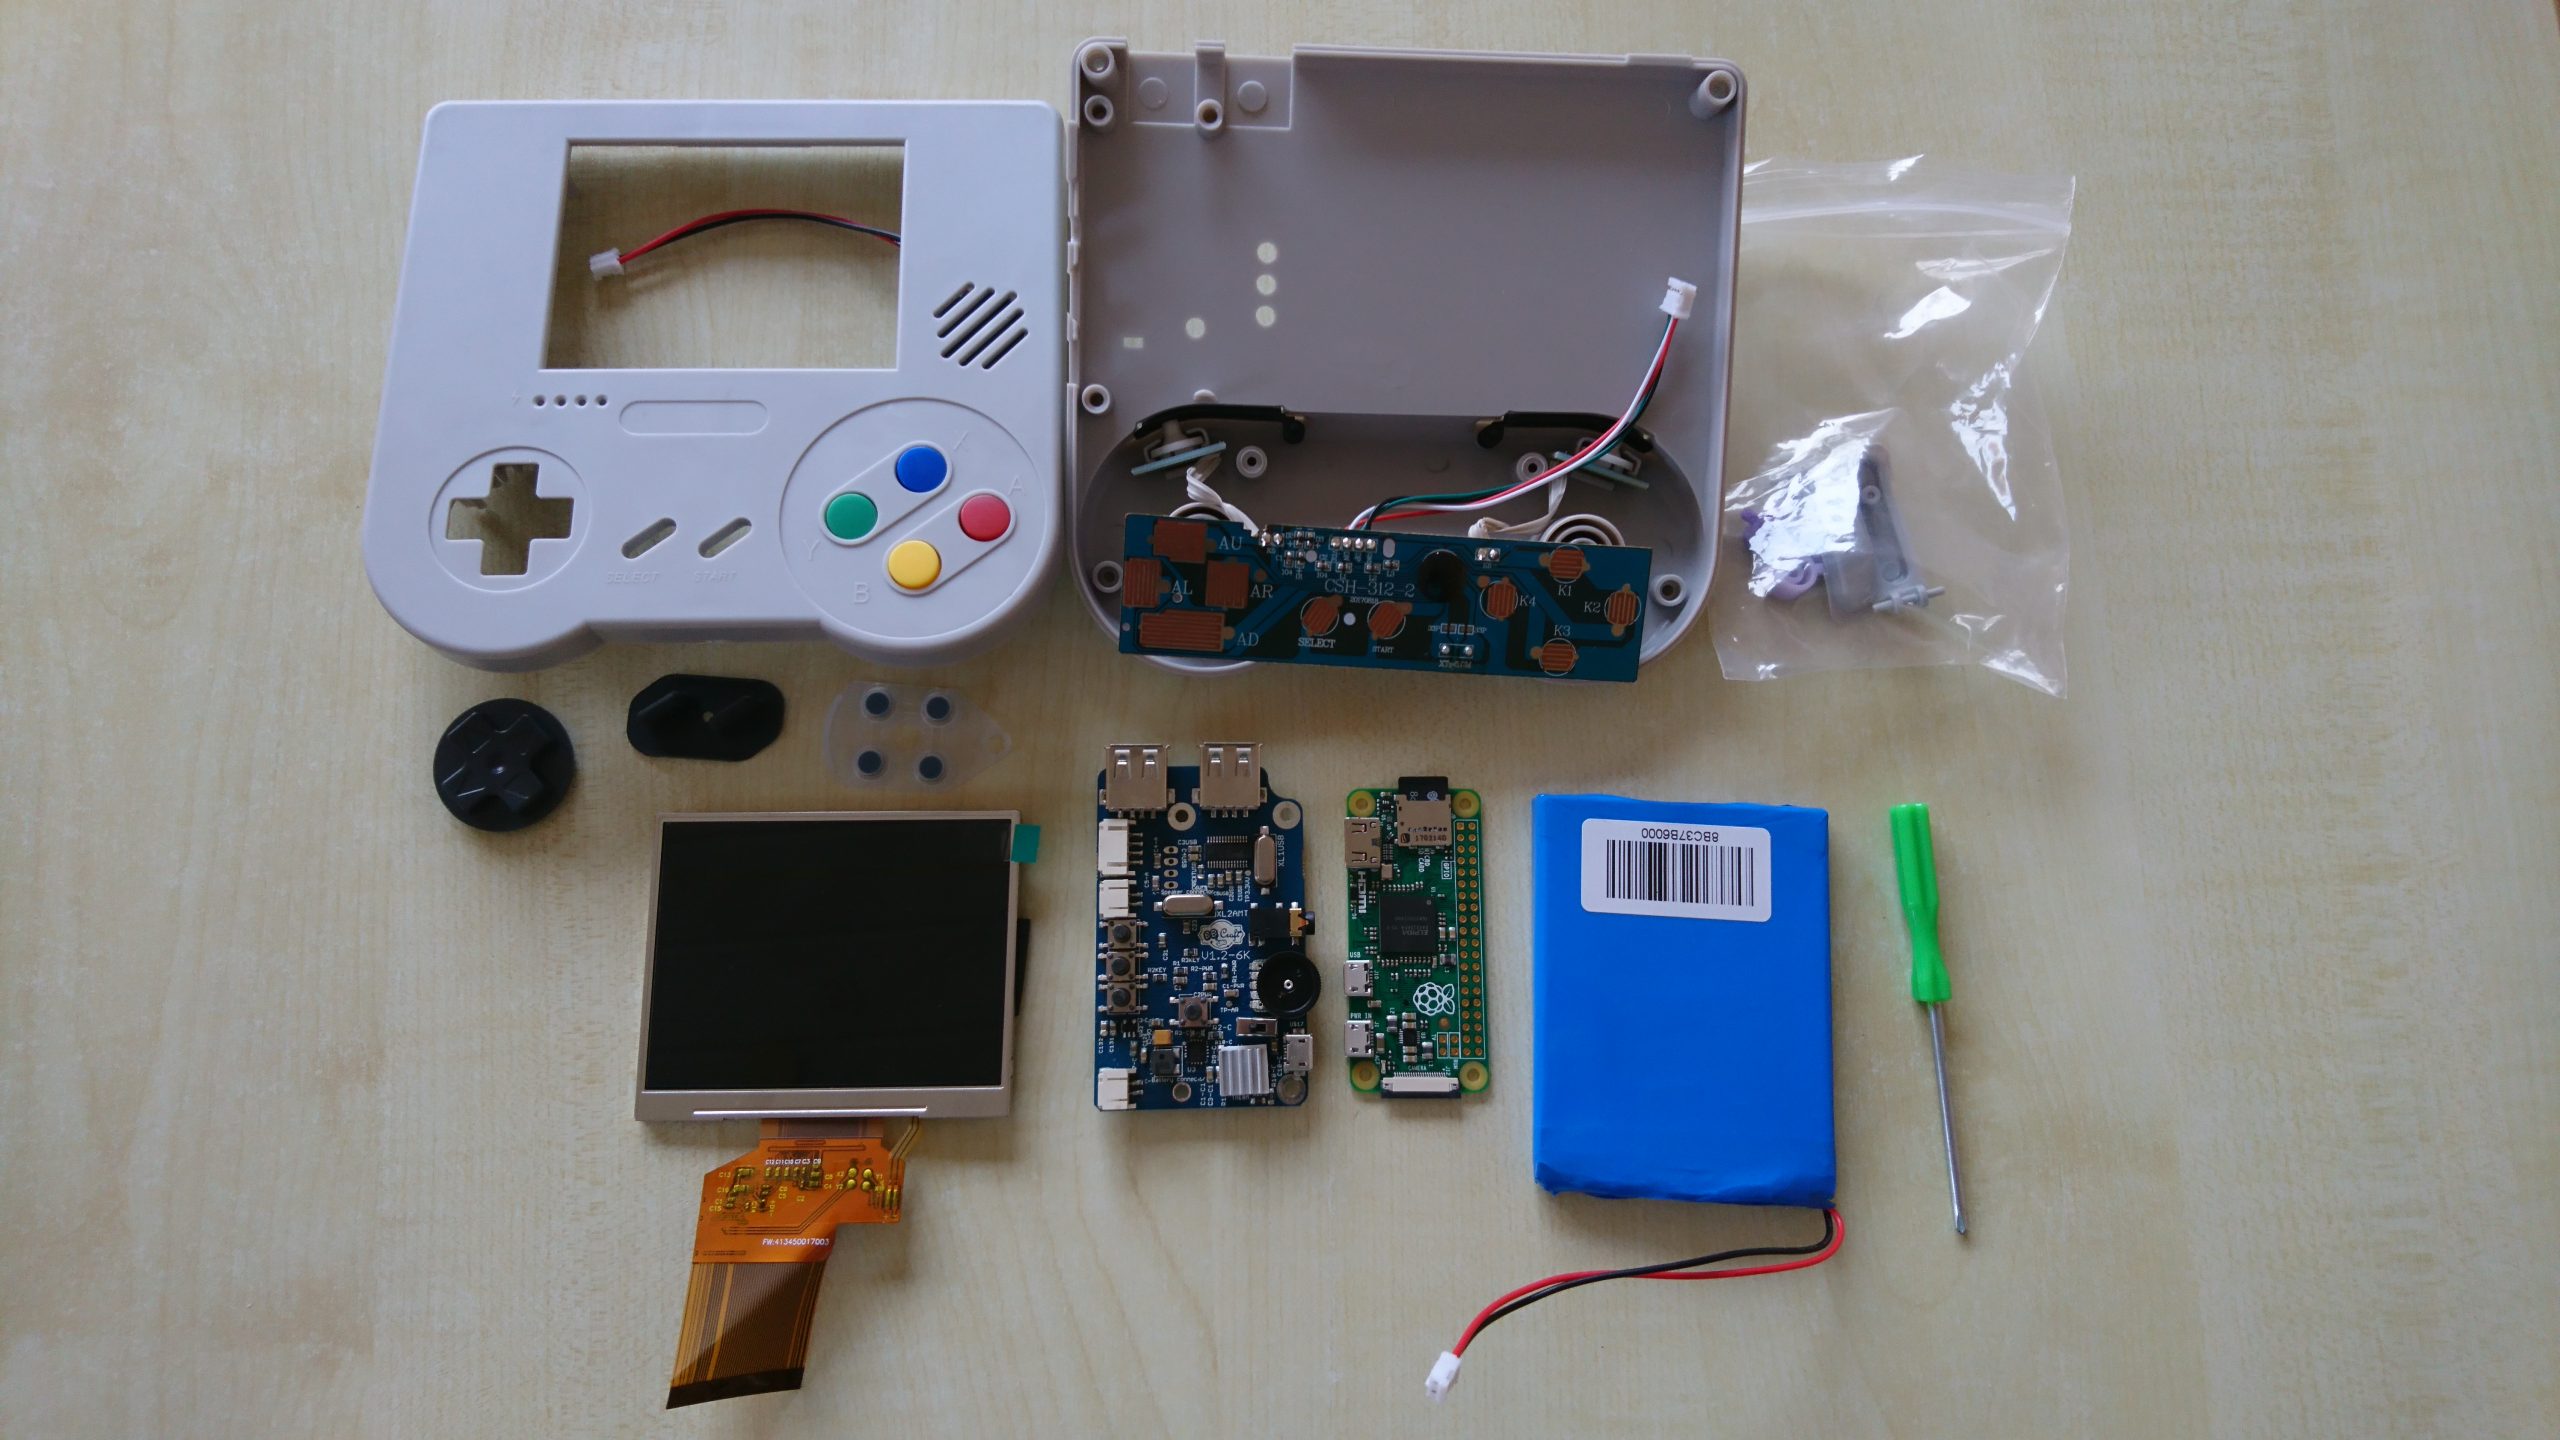
- RaspberryPi Zero [W]
- RaspiBoy Kit from 8bCraft, containing
- Battery
- Buttons
- Case
- Display [LCD]
- PCB to connect components
- microSD card to store RetroPie OS and ROMs
- Some patience ?
Here I “borrowed” an assembly animation from the original website by Pierre. The whole assembly work is quite straight forward and not very sophisticated, but putting together the two halfs in the end required some patience since you have to make sure that all buttons have electric contact.
I failed a lot of times to because one or more buttons simply fell off ?
The Results are really terrifying, as you can play all your beloved retro console games wherever you want ?
See yourself
If you want more information, check out Pierre’s website 8bcraft, which contains even more products like RetroStone and RetroBlock.
No responses yet